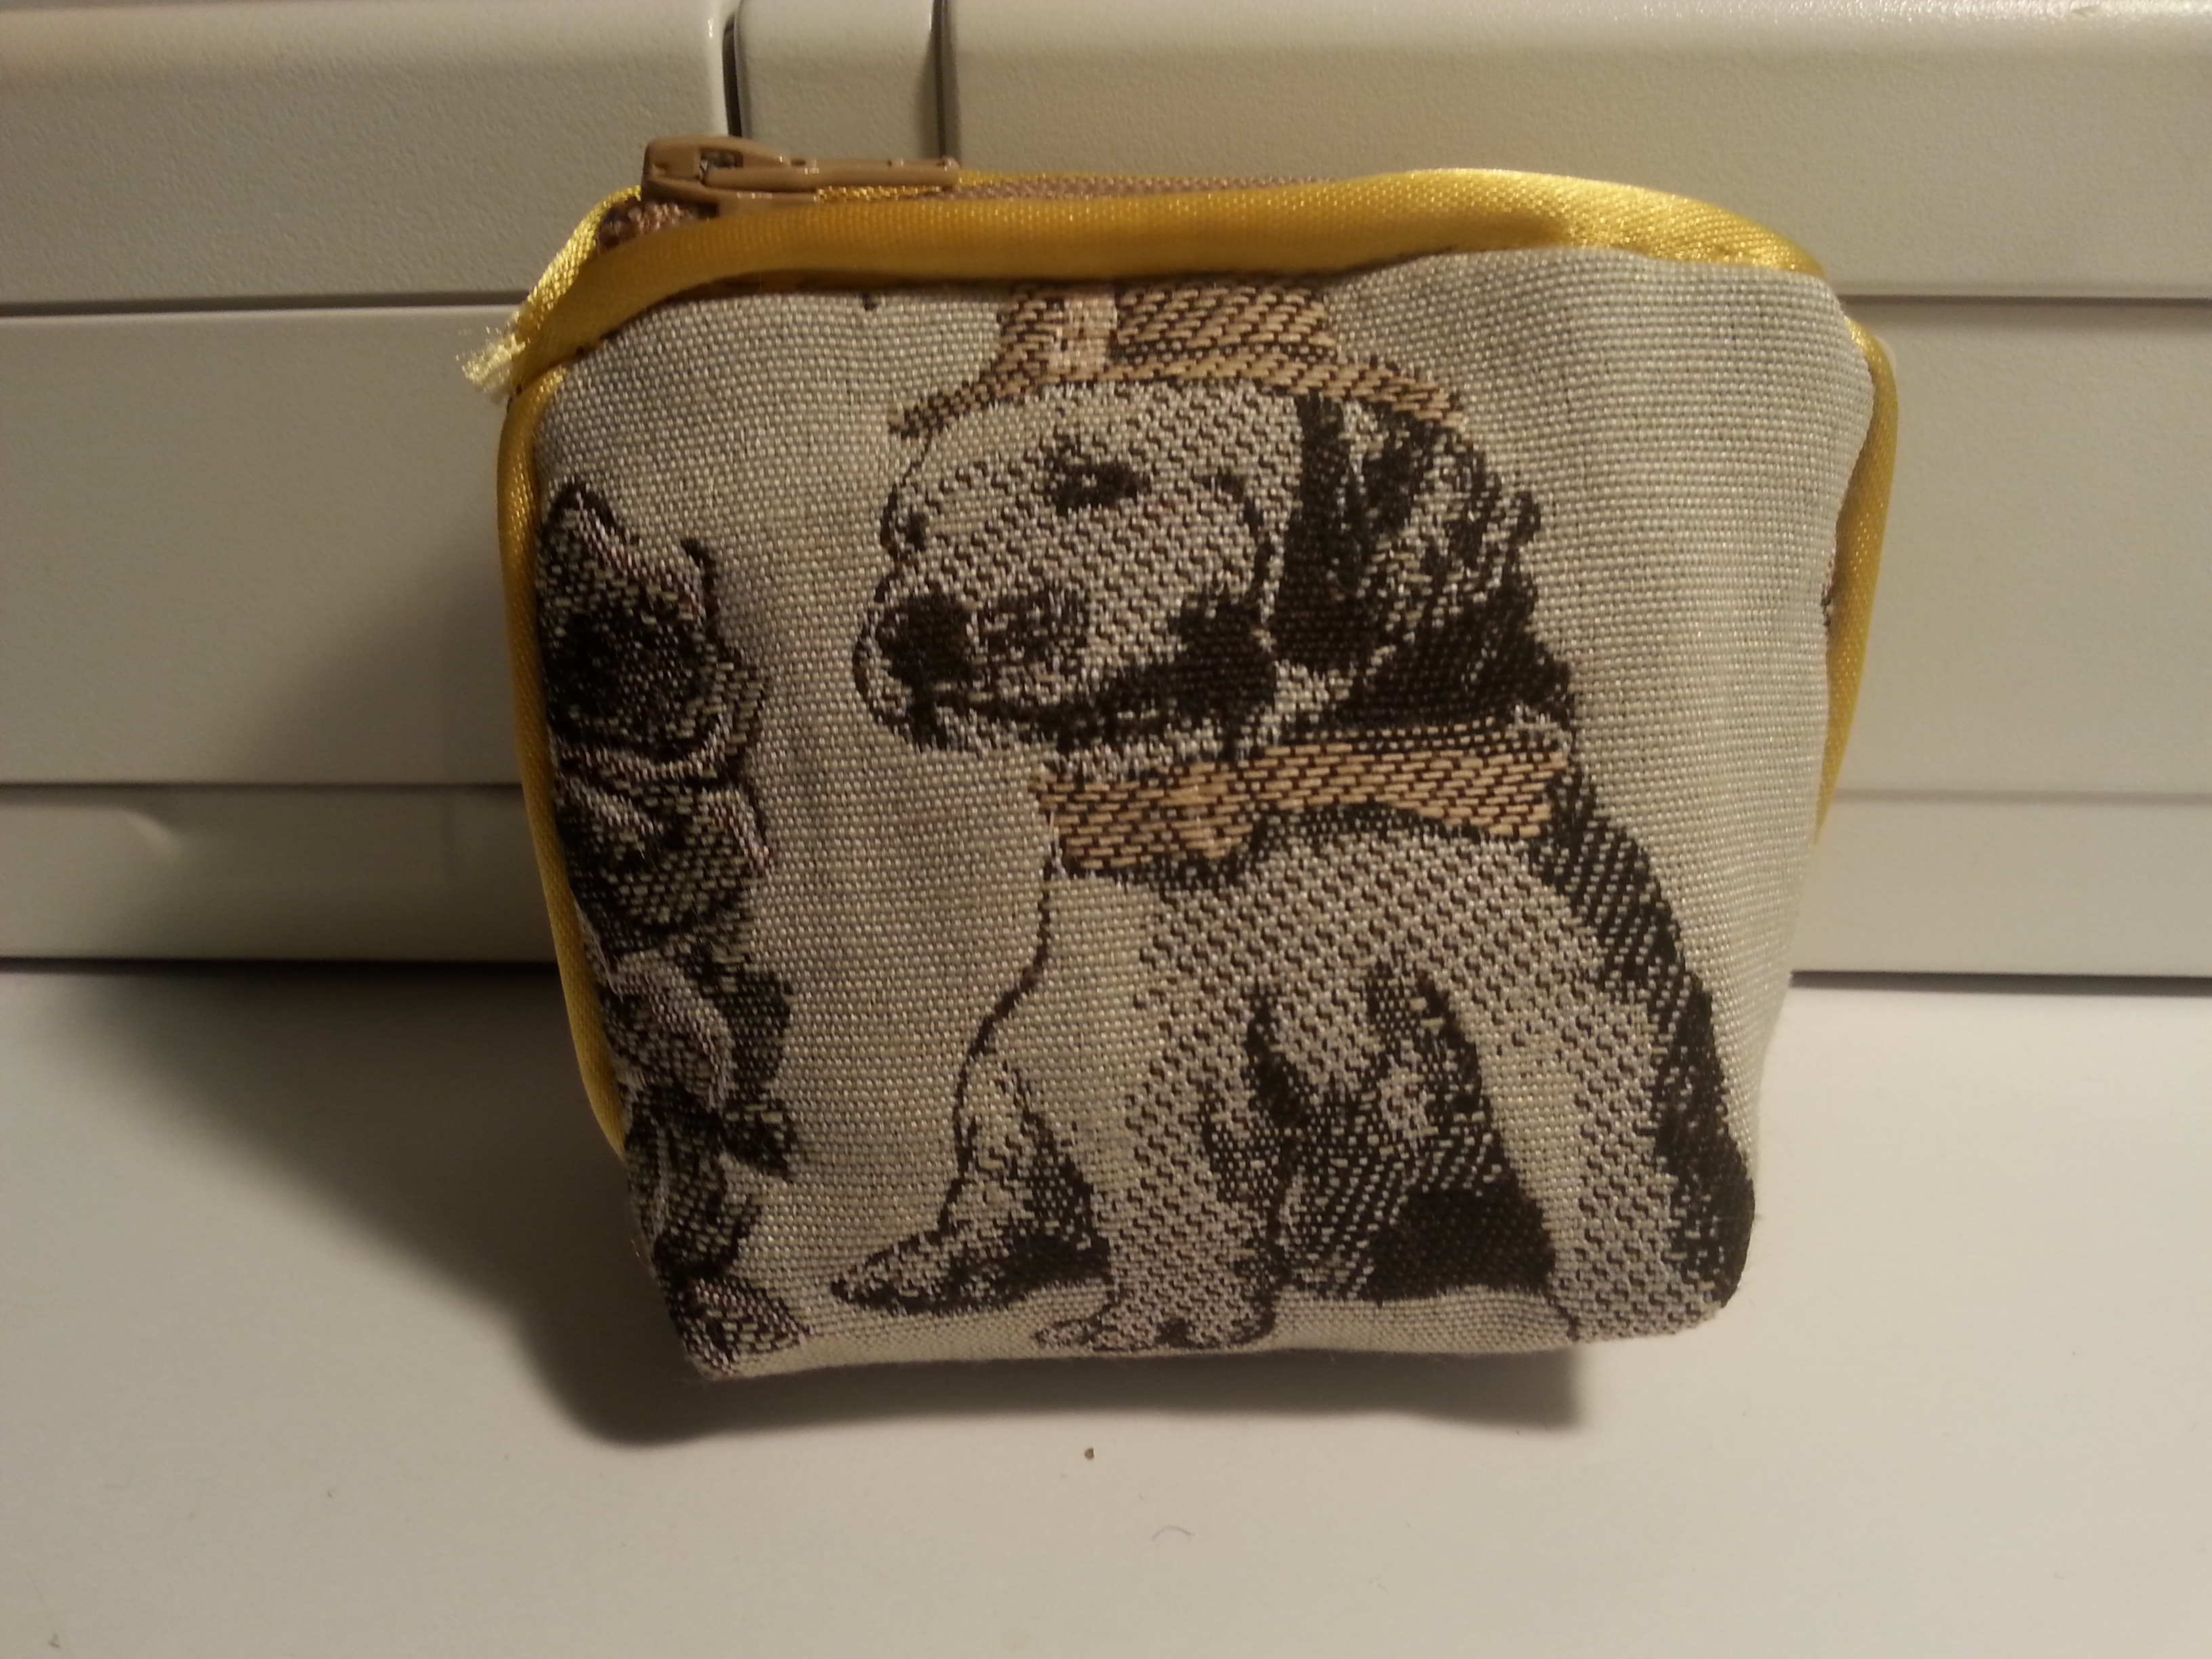
As almost every woman out there, I own a large wallet that doesn´t fit in small handbags. I sewed this tiny purse. It has only room for coins and notes, but not for cards, so probably, I will sew a bigger wallet that fits in small pockets but also spacious enough for cards, passport photos or tickets.


Cut:
– 2x a symmetrical trapezium like this of fabric, lining and interfacing:

-1x a 9x10cm rectangle for the inner pocket
– 60cm piping cord
– 60cm satin binding, 3cm wide
1,5cm seam allowance are included unless stated otherwise.
1. Press the interfacing to the matching fabric pieces.
2. Using a zigzag-stitch, sew along all edges of the inner pocket piece. Then, fold in 1cm on one short and both long edges and press. Fold in 1cm on the remaining edge twice, press, and topstitch. Place it in the centre of one of the lining trapeziums, 2,5cm down from the top edge and topstitch around the bottom and sides. You have an inner pocket (:
3. Fold your satin binding in half lengthways (without creating a crease) and put the piping cord between the layers. Using your zipper /piping foot, stitch about 3mm away from the cord
4. On both side edges of the fabric pieces, make a marking 3cm above the bottom edge. Pin and stitch the piping to the side edges of the fabric pieces, between the top edge and the 3cm marking and cut off on the height of the marking. The piping seam should be about 2mm outside the 1,5cm seam allowance line, with the piping facing to the center of the fabric piece. Stitch with your zipper/ piping foot. Repeat with the other fabric piece.
5. Put the fabric pieces RST and, using your zipper/piping foot sew along the bottom and both side edges with the piping between both layers. Repeat with the lining pieces (without the mentioning of the piping 😉 )
6. Pin and stitch the piping around the fabric purse opening. Start pinning on one side (not in the corner) and go around the purse until the end of your piping meets the start. Open some of the stitches of both piping ends and fold the binding back. Cut the piping cord (only the cord not the binding!) off where it meets its other end. Leave the binding 3cm longer and cut that off too. Put the cording ends next to each other. They should be touching but not overlaying. Connect them by winding adhesive tape around them. Fold one of the binding ends bag. Fold the second end in and put it around the „first“ one. Finish pinning to the purse and stitch down with your zipper/piping foot.
7. Take the lining purse WSO and fold out 1,5cm and press.
8. Take the main body and lay it flat WSO in front of you. Reach in one of the lower corners and match the side seam with the bottom seam. (Pin the seams on top of each other for working accurate) Put the piece flat in front of you, so the lower bag corner is now the upper angle of a triangle that is parted in two halves by the seam.


9. Measure 2cm from the seam of the lower bag corner along the side seam and make a line at the marking, transverse to the bottom seam. Stitch along the marking. Repeat with the other corner. Fold both triangles to the bottom on the WS. Repeat with the lining.
10. Put the lining purse WSO in the fabric purse RSO. With both edges folded in, pin the zip between the fabric and lining. Be careful that you leave enough space between zip and lining to prevent it from getting stuck when opening/closing the zip. It might be that the purse is too small to stitch the zipper on with your sewing machine, and you need to handsew 😉