After having finished my travelling bag, I made a matching toilet bag. I used the same fabric and binding, but added a piping. As lining, I decided for a piece of shower curtain I found in my fabric boxes. Shower curtain came in quite useful since it is water proof, but as long as you don´t put any soaking wet towels or the like in your washbag, a „normal“ lining from cotton etc. should do the job as well.


If there is anything unclear in the instructions, please drop me a line in the comments. Also, if you like send me a photo of your project and I will post it under the entry 
Cut:
– 2 times 41x30cm of fabric, lining, shower curtain, interfacing, fusible fleece
– 1 time 47×11,5cm of shower curtain, for the inner pockets
You will also need:
-1,30m of piping cord
-1,60m of satin binding, 3cm wide
-a zipper, 30cm long
All seam allowances are 1,5cm unless stated otherwise
1. Iron the interfacing on the fabric pieces and the fleece on top.
2. Take the fabric pieces and draw lines on their WS as following:

3. Constructing the darts:
Take a ruler and match the 0cm line with the point where both 5cm lines are meeting. Move the ruler along the side edge of the fabric, until there is a 6cm distance between the meeting-point and the edge. Make a line. Repeat with the bottom edge.
Repeat with the other corner on the long side.
Repeat with the other fabric piece.

4. Fold the darts in half with their right sides together. Pin along the dart-lines you draw in step 2. The edges of the fabric should be matching. Stitch on the dart-line.
5. Press the darts to the bottom.
Repeat step 3-5 with the lining and shower curtain pieces, but don´t press the latter, since the material might melt under heat.
6. Make the piping: Cut off 1,30m of the satin binding and fold it in half lengthways, covering the piping cord between the layers. Use either your zipper or piping foot to make a seam about 2-3mm away from the piping cord (for avoiding the seam being visible when the sponge bag is finished).
7. Take one of the fabric pieces and pin the piping on its RS. The seam of the piping should be in the space of the seam allowance, so place it 1mm sideways from the 1,5 seam allowance line. Pin the piping on both short sides, between the upper edge and the dart. Leave it 3cm longer on the bottom end. Stitch with your zipper/ piping foot (only to the dart, the 3cm rest should stay free.
8. Put both fabric pieces RST, with the darts matching. Push the 3cm endings of the piping in a 90° angle towards the raw edge and secure it with pins, so the piping ends neatly at the dart.
9. With your zipper foot still attached, sew the bottom and both short edges with a 1,5cm seam allowance.
10. Take the shower fabric piece for the inner pockets and fold in 1cm twice at both long edges. Topstitch both long edges with a 8mm seam allowance. Match one raw end with one of the short edges of the curtain pieces for the main body, 9.5cm from the upper edge and sew on the short edge.
From this seam, measure 7 cm in direction of the center. Make a mark on the main body piece. From there, measure 4cm and make a mark on the main body piece. From there, measure 4,5cm and make a mark on the main body piece.
Repeat with the piece for the inner pockets, but with other measures. From the first vertical seam, measure 12cm and make a mark (on the piece for the inner pockets). From there, mark 7cm. From there, mark 8cm.
Match the markings of the main body and fabric pieces and make vertical seams along them. Put the rest of the inner pocket piece flat on the main body piece, and stitch both pieces together in the space of the seam allowance, 1cm from the raw edge.
11. Put the shower curtain pieces of the main body RST, with the darts matching and sew along the bottom and both short sides. Repeat with the lining and press the darts downwards (don´t press the shower curtain, since the material might melt under heat).
12. With both facing WSO, put the shower curtain bag into the lining bag and combine both with a 1cm seam allowance. Fold the upper edge 1,5cm out and baste.
13. Pin the piping along the raw upper edge of the fabric bag and stitch it tight.
14. With RSO, fold the upper edge of the fabric 1,5cm in and baste.
15. Pin zipper to the fabric, with its teeth showing above the piping. The first pair of teeth should begin directly in one of the upper corners, tuck under the overlaying material of the zipper. Pin along both sides. When reached the other corner, don´t tuck this overlay under, but let it stand over the bag´s edge.
16. Pin again for attaching the fabric to the lining/curtain piece. Leave at least 3mm space between the lining/curtain and the zipper-teeth to avoid it getting stuck when using the zipper. Carefully, try to open/close the zipper before sewing.
17. Stitch, using your zipper foot.
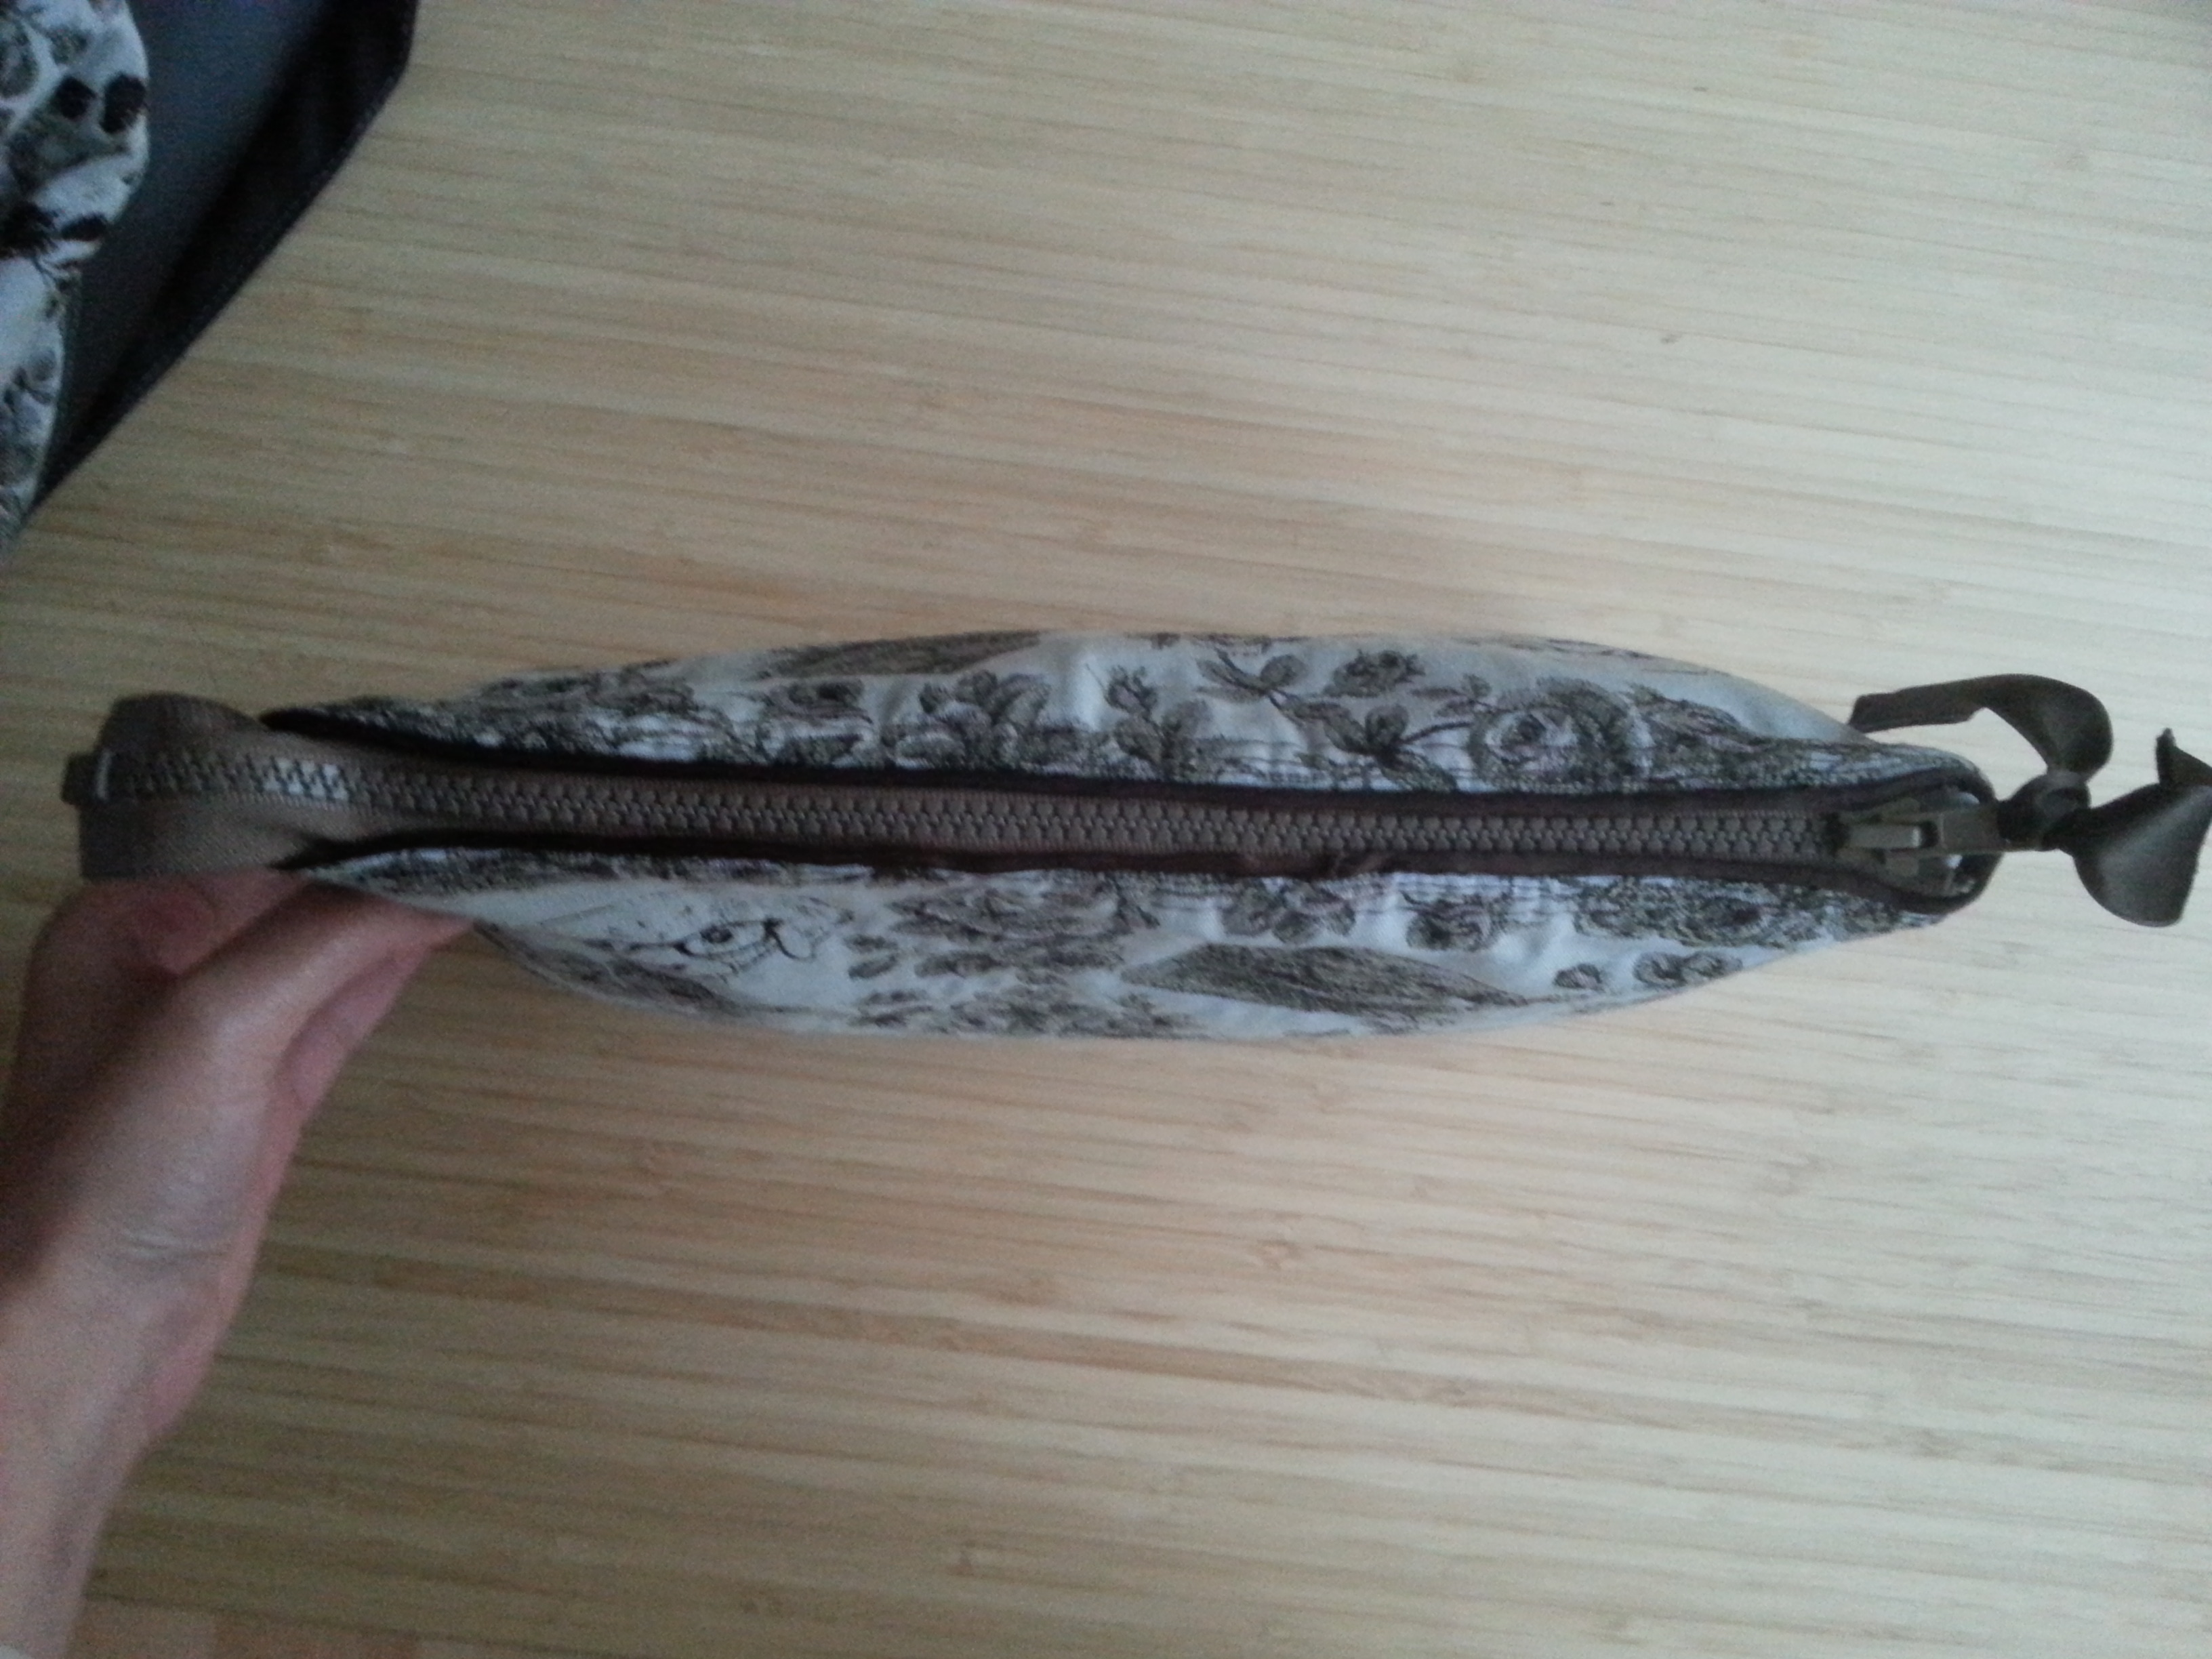
18. Take the remaining 30cm of satin binding, and fold in both ends twice (as narrow as possible) and topstitch them. Thread it through the hole in the slider and make a knot or tie.